


This is a tutorial for making a simple small doll using a pattern made with freezer paper. The pattern is in the previous post:
Free Doll Pattern
I've been making small dolls virtually my whole life, but when I discovered the use of freezer paper about a decade ago, it made my life quite a bit easier. Freezer paper has a plastic coating on one side that enables it to temporarily stick to fabric without leaving any residue when removed and the pattern can be used over and over again. I have some freezer paper patterns that are 5 years old and have been used hundreds of times, although they are getting a bit ratty with use.
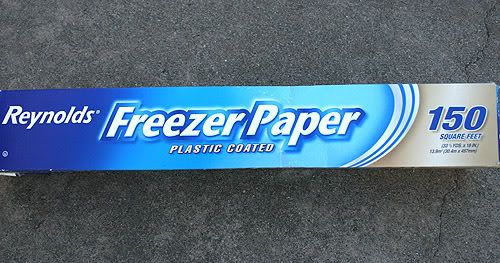
Freezer paper can be found in the grocery store and comes in a roll. Some cloth doll supply companies even sell it in nice flat sheets that can be used in your printer.
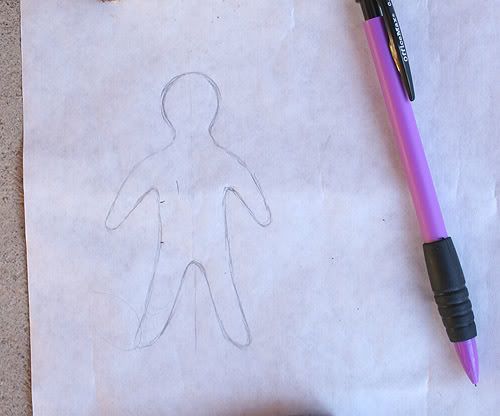
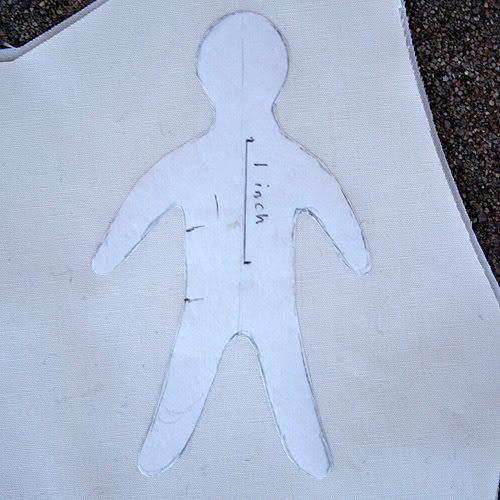
I draw all my pattern prototypes directly on the freezer paper, but you can see through it enough to trace a pattern on it too. Draw the pattern on the paper side of the freezer paper, not the plastic side.
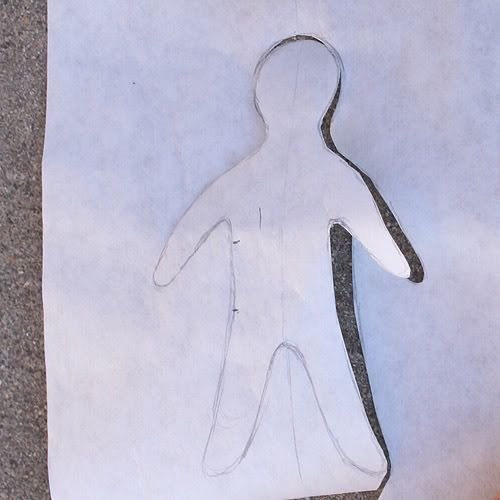
Once the pattern is drawn on the freezer paper, cut the pattern out right along the line. This will be your sewing line.
Double the fabric, wrong sides out. Since we're using a fairly hot iron, I recommend a cotton fabric. My favorite fabrics are Southern Bell and the Egyptian cotton fabric sold at Joann's Fabrics because they have a nice tight smooth weave that makes it easier to turn tiny cloth dolls without seam blow outs.
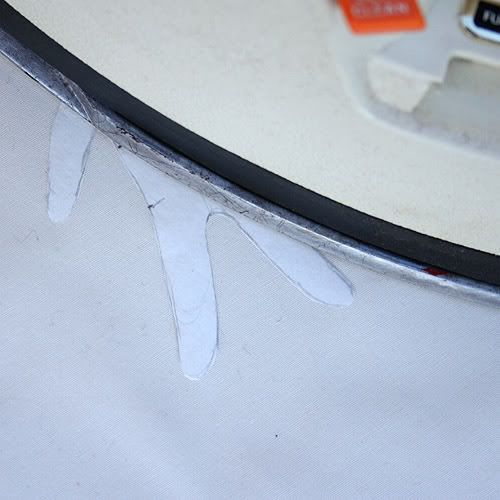
Iron the pattern plastic side down onto the wrong side of the fabric using a dry iron. Now, some irons get hot enough to melt the plastic coating on cotton setting, so if you have a hot iron, use wool setting. My old iron doesn't melt the plastic even on the hottest setting, but it's old and well used. If in doubt, use a cooler setting and if the pattern doesn't stick, bump up the heat to the next level.
Let the pattern cool on the fabric.

Sew right up along the edge of the pattern using a tiny stitch. I set my old Singer to stitch setting 15. Leave an area open for turning as indicated on the pattern.
When done sewing, peel the pattern off and cut out the doll leaving about 1/8 inch seam allowance. Clip curves, turn, stuff and embellish however you'd like.
Next tutorial will be about turning and stuffing a tiny doll.


14 comments:
I haven't made dolls in a long time, but this is inspiring - and this is a really well done tutorial - your photos and directions are excellent! The finished doll is wonderful.
Wow! You make the coolest things! We especially like the cat stuff! Mom wishes she was so creative! We want to wish you a Happy New Year and a very Prosperous 2009! Say hello to Donavan for us! Can you send us his blog address so we can add him to our Blogroll!! We had it once, but when Blogrolling failed we lost a lot of our links! Thanks!
Your FL furiends,
Thanks for the tutorial! I just got a sewing machine for Christmas and I have a little girl who would love a new doll:)
Looks like something even a newbie could handle.
Jen
Neat! My customers and always asking for a 'smaller doll' and I have been tearing my hair out trying to find inspiration - you are it - and a Hit on the inspiration front!
Well done tutorial!
Connie
Great tip! I can use the freezer paper for felting projects! Thank you so much. Love your blog and your works. Donovan is adorable. We have a wonderful loving cat named Peaches, and a red-nosed pit bull named Kelly Rose (she's Irish in our eyes!) Nice to connect with you, and thank you for visiting my blog.
She is just adorable! All your things are so cute, I am not really much of a sewer and I really love all your cute items and ornaments that you create!
She's darling and whether or not you plan on following a tutorial I always think its so fun to see the process!
I've enjoyed your blog and wanted to pass on an award I got today ~hope you have the time!
Details are on my blog :)
~Deborah
Thanks for sharing your technique. Very interesting.
Donovan, the cat,look like my male cat,Toto! Did you ever see the fiberglass cats in CAtskill, nY?! They have like 60 of them, made by artists ,along the street! Hudson had dogs!! I have a photo on my blog if you click the link to my website Artzstuf and then got to mixed photos. Toto's pic is there too!!
-Artzstuf
Hiya, Just wondering when/if you would be following up with part two of the tutorial please? Hugs Naomi
Thank You so much for this explanation! It makes me want to try making a mini doll asap!
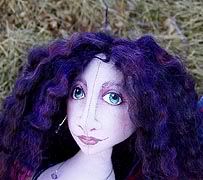
I love the purple doll you made,, my favourite colour,, have a look at mine,, the site is still in the making but I will keep you posted.
nicky
Hi. Just discovered your tiny doll pattern and tutorial part I. I appreciate your sharing. I sew and have made play dollies for nieces, but tiny art dolls is a new inspiration. Is there a really a part II about turning the tiny doll and finishing it? If so, how do I find it? Thanks for the information.
Post a Comment