Showing posts with label hypertufa. Show all posts

Monday, August 27, 2012

How To Make a Hypertufa Pot cont.

This post is a continuation from:
How To Make a Hypertufa Pot

 After letting the pot cure for about 24 hours, unwrap it and check it by poking a finger in it. It should not be at all squishy, but quite firm. You should be able to dent it with a finger nail, but not a finger. If you can push in a dent with just the finger, it won't hold it's shape when you unmold it. If it's still too soft, wrap it back up and leave it for a few more hours and check again. Make sure it's still moist and spray mist it if needed.

Once it's firm enough, carefully tip the pot out of the mold. Don't bang it or drop it since it's still quite fragile. The plastic lining should help it drop right out of the mold and you'll just have to peal the plastic off of it.

The holes might have closed up a bit or skimmed over. Open them up.

Now you can rough up the surface with a wire brush, or gently carve lines into the sides.

I rough up the entire surface because I like to make it look more rock like and hide some of the lines created by using the plastic trash bag. Also, it exposes the perlite and vermiculite for a more textured appearance. Be gentle since it's still quite fragile.

Once I've got it the way I want it, I put it back on the plastic.

I wet it down.

Then I wrap it up again to seal in the moisture.

Here it is, all wrapped up, ready to be moved to a shady location for a couple of weeks.

After a couple of weeks it should be pretty hard. I then finish the cure by unwrapping the pot and completely immersing it in water for another week or two.  The water will need to be changed every few days. This will help leach out the lime in the surface of the pot so it won't hurt the plants. Once this is done, the pots are ready to plant.

Here are a bunch that just finished their final soak. Once they dry out, the color will be much lighter.

Saturday, August 25, 2012

How to Make a Hypertufa Pot


Hypertufa is a rock like substance made from cement that works great for outdoor pots. It's porous so plants that like good drainage do well in pots made from it and it survives freezing and thawing much better than pots made from terracotta. I plant many of my winter hardy succulents in pots made from hypertufa. It's not hard to make so I make most of my own pots. Here is a tutorial on how I do it.

To make hypertufa, I use the following materials and items:
1. Portland cement
2. Vermiculite or perlite
3. Spagnum peat moss
4. A container suitable for a mold
5. Large plastic garbage bag
6. Water
7. Protective gloves
8. Dust mask
9. Wire brush such as a cheap grill brush
10. Clothes I don't care about
11. Colorant (optional)

First, the dry ingredients are mixed together. These will be 1 part Portland cement, 1 part spagnum peat and 2 parts either vermiculite or perlite. Sometimes I use 1 part perlite and 1 part vermiculite. Some powdered colorant can be added at this time as well. For a bowl as big as pictured below, 1/4 to 1/2 cup of powdered colorant will color up the mix nicely. Make sure to use fresh, non-hardened Portland cement. If it has sat around in a humid area or gotten wet, it will have hard lumps in it and be useless. Also, make sure you buy just Portland cement. You don't want to buy pre-mixed concrete or mortar. Home Depot carries it in 45 pound bags which is the smallest I found so far.

Use enough ingredients to almost fill the mold you will be using. The mixture will be compressed quite a bit so there will be plenty of empty space in the middle when you are done. I often use a wheelbarrow to mix up the ingredients if I'm makinng something large.

Mix the ingredients very thoroughly. The dry colorant won't show up. Don't worry, it will later when the water is added. Be sure to do this with gloves and a dust mask on. The cement is very very harsh on skin and the dusk is not safe to breath.

Add water slowly and mix.

Mix thoroughly by hand. If you added powdered colorant, the color will start to show now.

Keep slowly adding water and mixing until you can make a ball of the mixture. Squeeze some together. It should not fall apart, nor should it slump down. It should hold it's own shape if lightly tossed from hand to hand. If squeezed tightly in the hand, a bit of water should ooze through the knuckles.I find that the total amount of water used varies somewhat, but it's more important to get the texture right than trying to use the same amount of water each time.

Get your mold ready. The mold should be stiff so it can support quite a bit of weight and smooth so it will release the pot. Make sure it doesn't get narrower towards the top or you'll never get the pot out.

Cut a large trash bag down the sides so it opens up flat and place it in the mold. Here, I am reusing one so it looks dirty. If you do that, make sure the dirty side is on the inside and not touching the mold sides or it could stick to the mold when you're trying to get the pot out.

Place the hypertufa mixture in the mold. It may look like too much, but it'll compress when you form it to the mold.

Now you can shape it to the mold. Go around the edge, pulling mixture from the center to the edges and squeeze against the edge of to mold the compress the mixture.  The walls should be about 1 1/2 inches thick for this size pot. For pots half this size you can get away with walls a generous 1 inch thick.

Keep going around the pot, squeezing the sides against the mold and pressing down on the top to compress it. If it isn't compressed, and is just crumbly, then it will fall apart later.

I go around 3 or 4 times, constantly shaping the sides and edges. If the mixture is not too wet, it should mostly stay up by itself with very little slumping.

Once I am pretty satisfied with the sides and edges, I poke a finger in the bottom to make sure it's thick enough. If not, I scrape away some of the sides for the bottom. It should be about 1 1/2 inch thick for a pot this size.

The bottom needs compressing too, as well as the lower part of the sides.


Now it's time to poke drainage holes in the bottom. I just use my finger and make the holes pretty big. They'll close up a little, but that will be taken care of later.


Make sure to put enough holes for good drainage.

Once the holes are done and the pot is the way you want it, it's time to wrap it up to keep it moist for a while. Portland cement has to stay moist in order to cure. It doesn't harden from drying out, instead it forms a chemical bond with water and that's what makes it hard. Therefore you want it to stay moist as long as you can so all the cement will form this bond.

Tuck the plastic all around the edges to seal the moisture in and gently place it in the shade for about 24 hours. If you bump and jiggle it too much it will slump.


Clean all the mixing bowls, tools, wheel barrow, etc. to get the cement off, otherwise it will harden and stick to them.

Since this post is getting quite long, I'll stop now and continue on how to unmold and cure the pot in the next post.

Monday, August 13, 2012

The New Crop of Hypertufa Pots

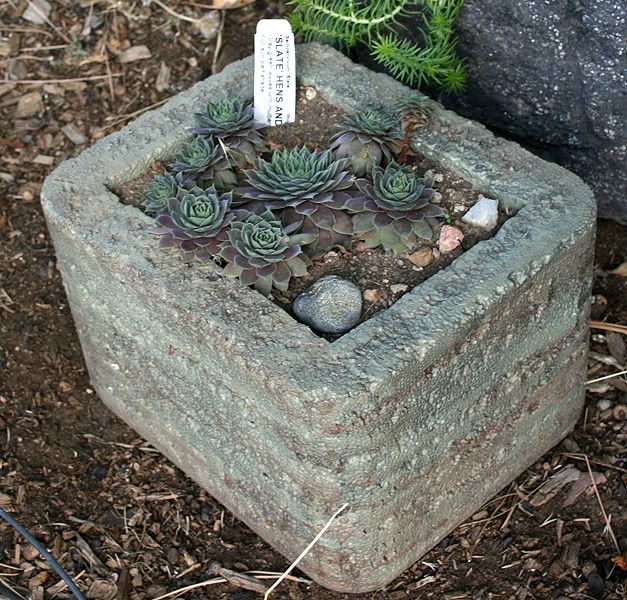
Since hypertufa pots work so well for hardy succulents such as sedum and sempervivum in my climate, I made more this year. Here are the ten pots I have cured so far this year and I have four more curing in water at the moment. I've settled on a favorite recipe of 1 part portland cement, 1 part spagnum peat and 2 parts vermiculite. I like the texture of vermiculite hypertufa over perlite and it seems to cure faster too. I'm switching over from using the bottled cement coloring from Home Depot to powdered coloring from a concrete supply place.
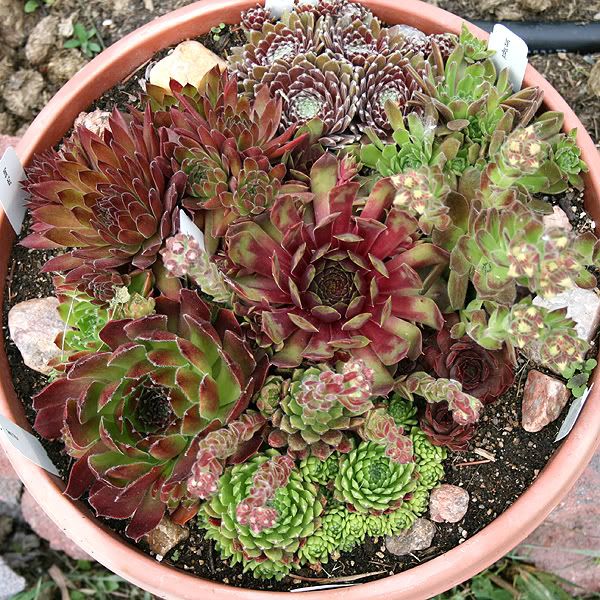
Here are some of them potted up with sempervivum. These poor plants had been waiting years to get out of their small plastic pots.

Sempervivum Glaucum Minor

Sempervivum Pacific Shadows

Sempervivum Grigg's Surprise

Sempervivum Dark Cloud are Larissa which are new this year

Here's some from last year. The pots and the plants came through the winter very well.
Sempervivum Sioux

Sempervivum Red Beauty and an unknown

Sempervivum Pacific Blue Ice

Sempervivum pumilum hepworth, Atroviolaceum and erythraeum

Sempervivum Cebanense

Thursday, December 30, 2010

Sempervivums, Sedums and Hypertufa Revisited


A little over a year ago I posted about some recently acquired hypertufa pots and some plants to put in them. Well, not only did the plants I bought do well, but I went and bought some more pots from Fox Meadow up in Fort Collins, Colorado and then went hog wild buying plants. It didn't help that Timberline Gardens, a local nursery in Arvada, Colorado, has an unbelievably large variety of sedum and sempervivum. This variety, combined with Timberline's discount table where many cool plants can be had for only a $1, cause me to go crazy and buy way more plants than I had pots or gardens for. I guess I'll just have to get more pots and dig up more of the back yard.
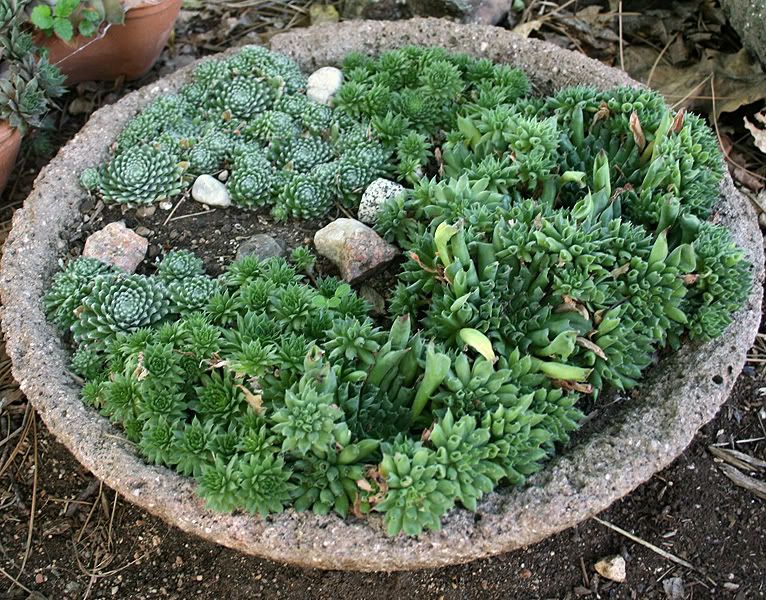
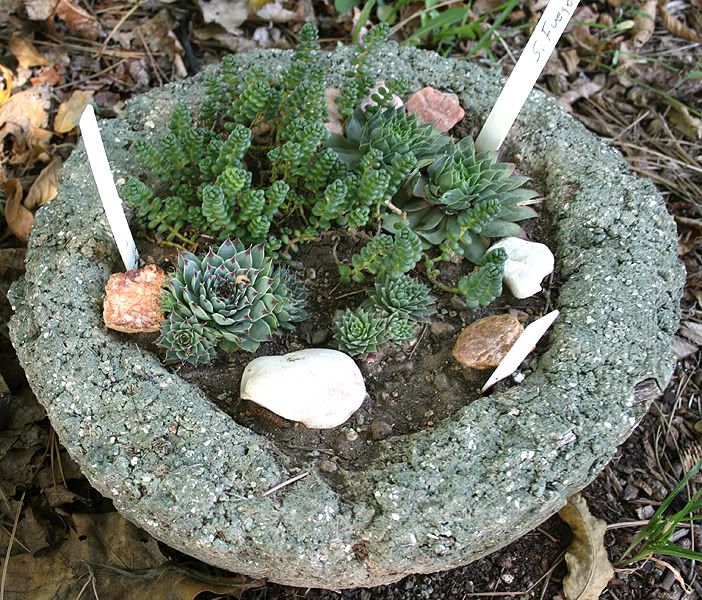
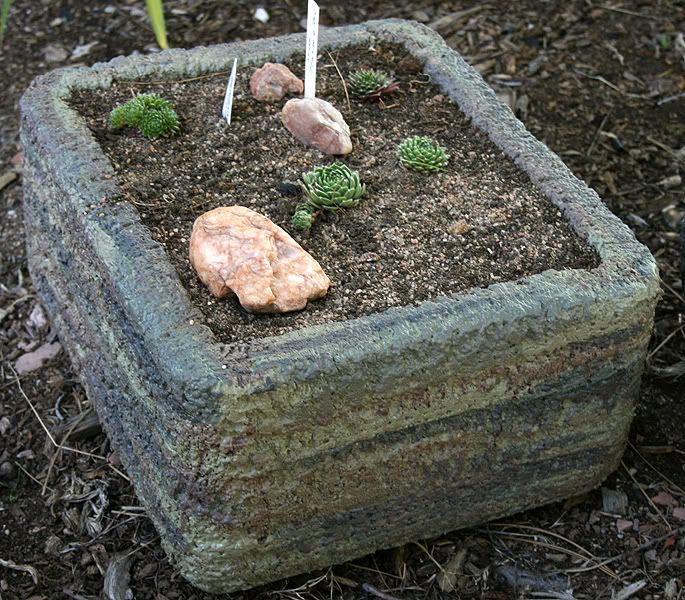
The picture above shows the pot I pictured in the 2009, only all potted up with some sedums, sempervivums, jovibarba and a tiny dwarf ice plant. The pot below is my old, home made hypertufa pot filled with sempervivum Oddity, S. funckii and S. arachnoidium. Click on picture for a much bigger image:


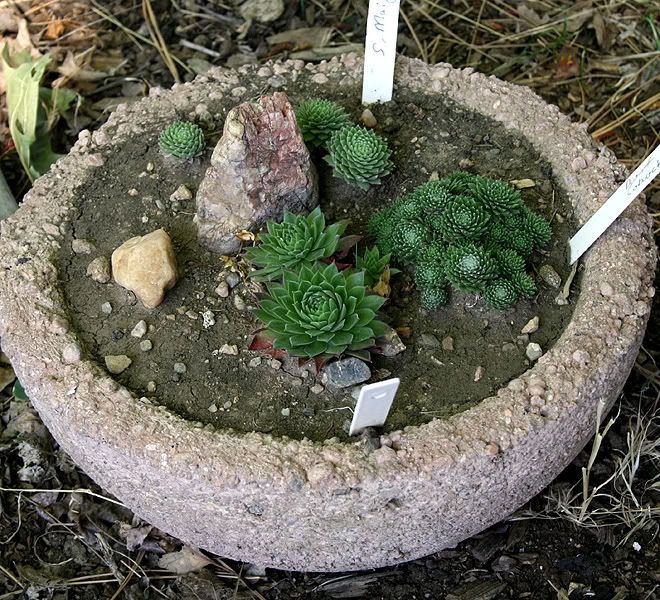
The other new hypertufa pots from Fox Meadow are shown below, all planted up. Click on the pic for a bigger image:


Plus, there's a new pot made from left over Quikcrete and a bit of cement colorant:


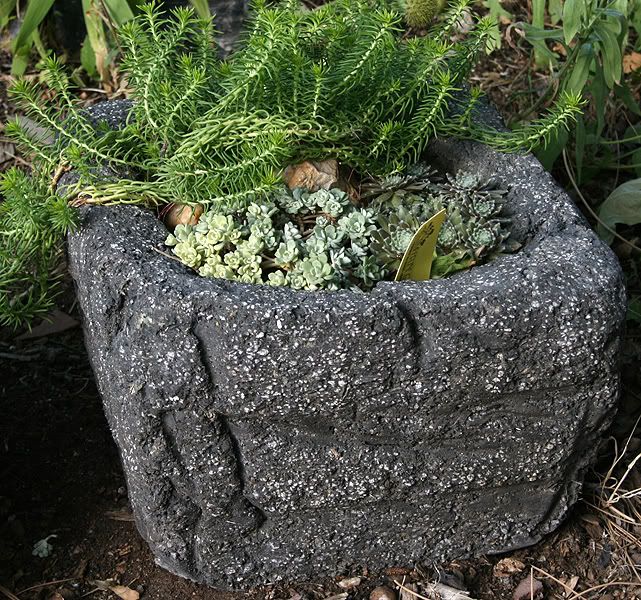
And then there faux hypertufa, or as I like to call it, faux faux Tufa since hypertufa is meant to simulate tufa, which is a naturally occurring rock. These pots are made of Styrofoam boxes that have been roughed up and painted with leftover house paint and some acrylics.


All of the pots, whether they are hypertufa or styrofoam have plenty of drainage holes in the bottom.

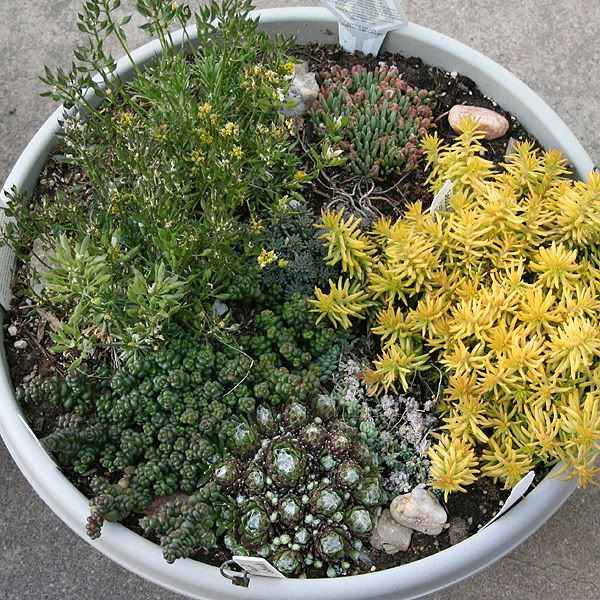
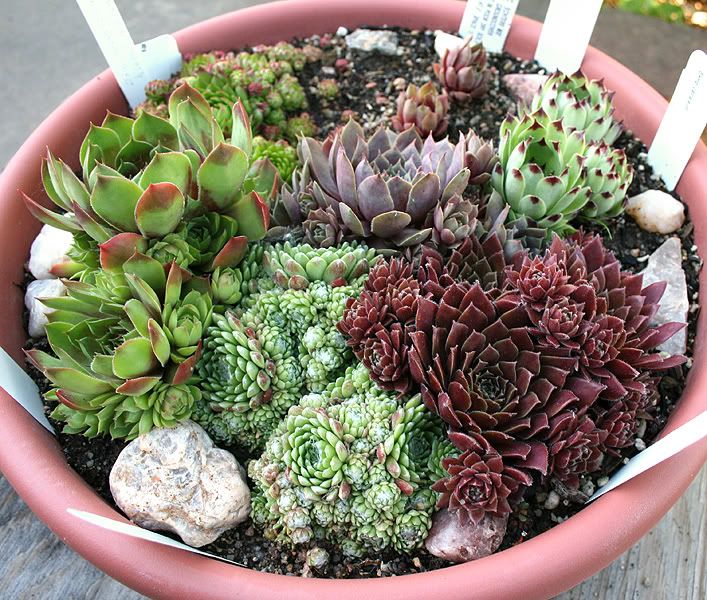
The plastic pots planted up with sedums, iceplants and sempervivum in the spring filled in nicely:


It was fun the see the radical color and appearance change in the sempervivum throughout the year. These pictures show the color change Sempervivum Calcerum Pink Pearl went through from May to July (click for larger pics):


These pictures show the range of colors S. Spherette went through from May to September:


Sempervivum Fuego also undergoes a radical color change. Here it is from April to September:


As winter arrived, some became an intense shade of red, while others became more green. Some changed from blue green to purple. Some stayed pretty much the same. I have lots more pictures here.